Introduction
I first talked about traveling with coffee back in 2017. I do things now a bit differently than I did two years ago, so I figured it was time to do an update.
What changed?
Vacuum Sealing
While vacuum sealing coffee was kind of fun, it’s a hassle to do for frequent trips. It also doesn’t keep all that well, even with an oxygen remover.
I’ve been meaning to try roasting my own beans and then sealing them up before they oxidize to delay that part to when I open the bag, the amount of work that would go into that is even more than it was before, and I can’t see myself doing that consistently.
Nespresso
I love my Nespresso machine, but there’s a few things about it that make it a bit of a hassle. It takes up a full quarter of my carry-on bag, which leaves me a single packing cube’s worth of space after I include clothes. It also weighs 2.4kg (5.29 lbs), which can be a significant portion of hand luggage weight.
Because it’s somewhat unusual to see in a carry-on bag, it gets flagged for inspection fairly often, and that wastes time. Before packing it, it also has to be run through a water empty cycle and dried down, which also consumes time.
Kettles
The kettle that I’d suggested in the last post is no longer available for sale, and only has a 500W heating element. I’ve since started using a portable half-liter bodum one, which has a 700W heating element, but isn’t as easy to store things inside as the G-Force one, even though it’s still possible.
Depending on where you like to stay, there may also be kettles available from some hotels upon request, similar to mini-fridges. It’s worth asking, since you might not need to pack one. In much of Europe, they’re a standard amenity in the room, so buying a dual-voltage kettle isn’t as important as I thought it was when I’d bought the G-Force kettle.
I did try getting another kettle that’s mainly silicone and smashes down, but the problem with those is that they are difficult to fully off-gas and tend to retain smells from things around them, which isn’t ideal in a suitcase.
Cups
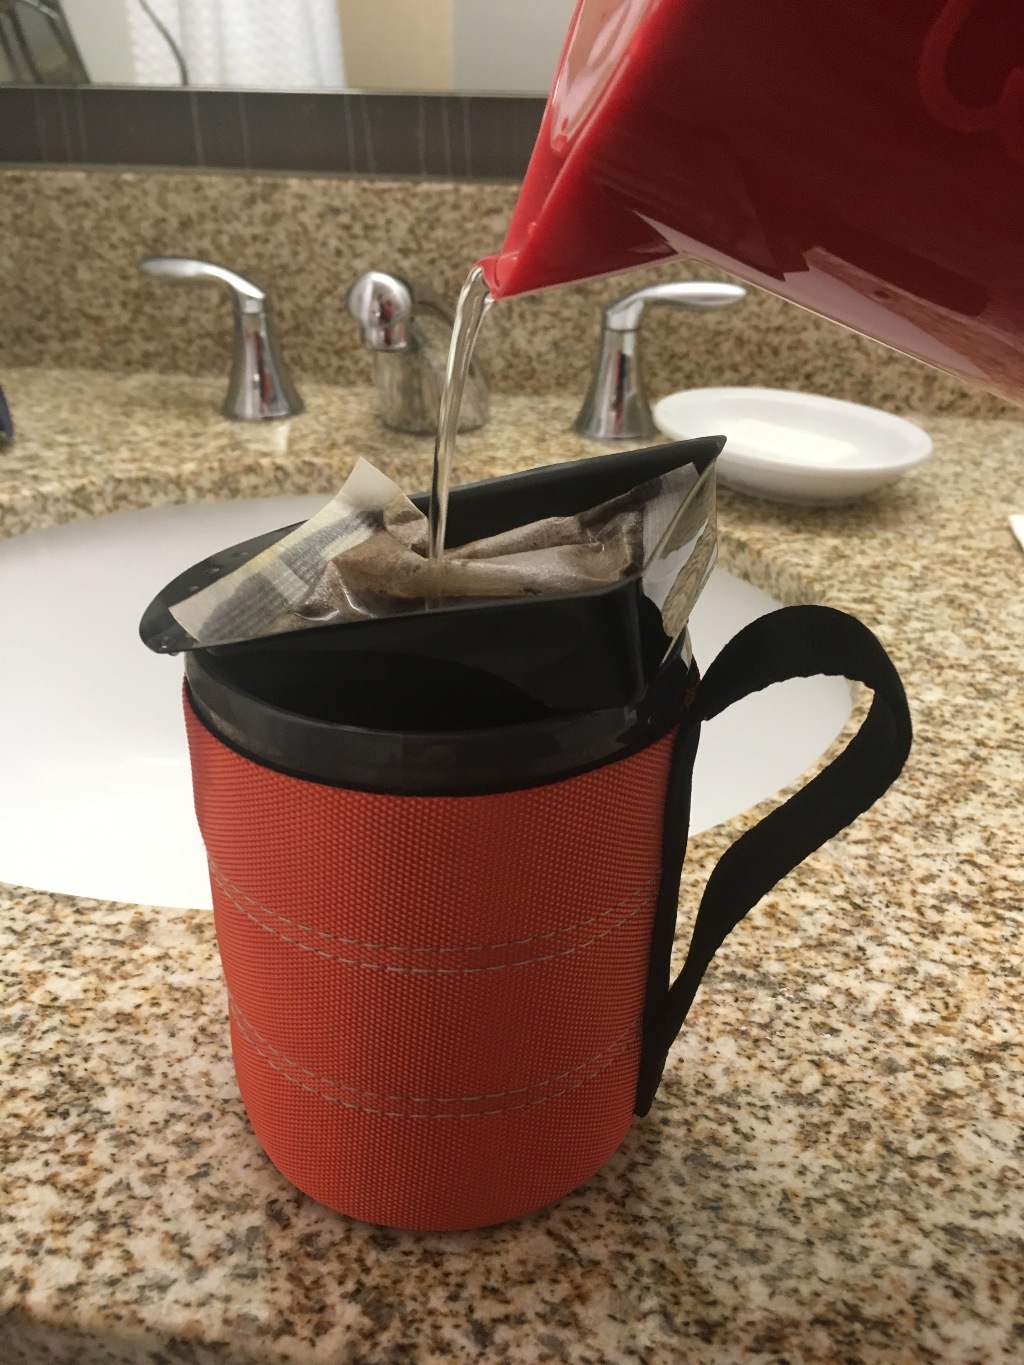
The old G-Force kettle came with these comically small cups that can fit inside it. Unfortunately, they can’t hold a lot of liquid. I found a nice camping mug that can be used instead. I’d used an enameled mug in the past, but this doesn’t chip and the insulated sleeve doubles as a carrying case.
Other Techniques
In-room pour-over
 In the past post, I’d suggested using the in-room coffee with a french press or aeropress. While the quality of the coffee still varies a lot, boiling your own water with a kettle and pouring it over works better than those two options, and requires packing fewer things.
I’m not sure what it is about the heating elements on the coffee makers in the rooms, but I don’t think they get hot enough and the output tends to taste a little metallic.
Nanopresso
To try to reduce the size of the stuff that I was carrying, I picked up a Nanopresso. The Nanopresso works pretty well for what it is, and it works with Nespresso pods, as advertised. It supposedly gets up to 18 bar, but I don’t have a good way to test this. The crema isn’t quite as good as the Nespresso machine for whatever reason (pressure? temperature?), and you still have to bring a kettle. It’s a cool idea, but not much more convenient than the actual Nespresso machine.
CISNO NCC-N01
The CISNO is around the same footprint as the Nanopresso, but it also has a built-in boiler. It can be operated from already hot water or from the internal boiler. If you use the built-in boiler, you can do up to two capsules from it before you have to recharge the battery. These sell under a few different brands, but the mechanism is essentially the same.
One cool thing about that is that you can make your own espresso while on a flight, which was fun, but it takes 8-10 minutes for the water to get to the right temperature because the heating element is so small, I think between 150-250W.
You can get hot water from elsewhere, but then there’s less of a benefit to carrying this around vs the Nanopresso because it can only do 15 bar. If you don’t like water from aircraft holding tanks, this is one of your few options for making espresso on board.
Icing Hot Coffee
For the cheapest coffees, taking the pour over and putting it on ice helps cut the bitterness quite a bit. This spruces up either the coffee you might have gotten from the in-room coffee maker, the lobby, or even on a plane.
Cold Brew
I hadn’t been a fan of cold brew in the past because my first experience wasn’t very good. Turns out, I’d probably been served undiluted cold brew, which can be very bitter.
Making it is pretty simple. Put 30g (1 oz) coffee in 250mL (8 fl. oz.) of water and let it sit in water for around 12 hours before removing the coffee. Add another 250mL of liquid (water and/or creamer) and it should be the right level of dilution. If you consume it within a day or so, it should be fine to do this without refrigeration, but it can mold if you leave it out too long.
The nice thing about this is that you don’t even need a kettle in order to brew the coffee, which reduces how much stuff you have to carry. If you’re using the 500 mL cup mentioned above, it’s really easy to do this all in one container.
The Walmart private label cold brew bags work well for this.
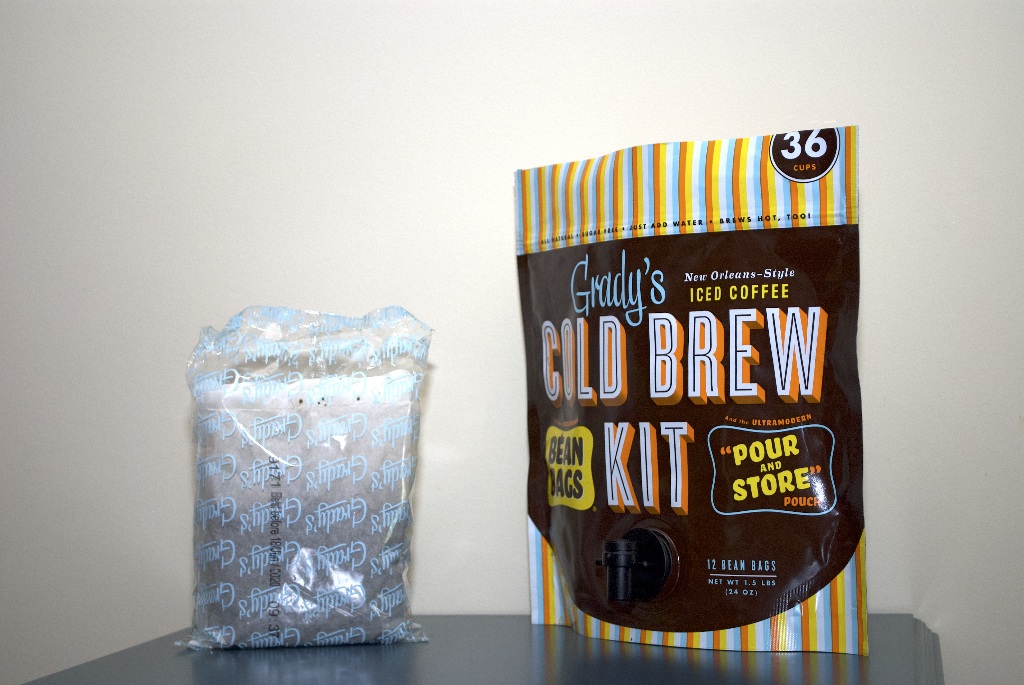
If you have a minifridge and are staying for more than a few days, it’s also hard to beat the Grady’s Cold Brew Kit. It’s new orleans style and the bag doubles as a dispenser.
As an experiment, I’m going to try cold brewing the in-room coffee, but this might go terribly wrong depending on the type of beans used in the coffee. Arabica tends to work better for cold brew because it’s less bitter, but Robusta beans are cheaper. This means that I’m simply more likely to get Robusta beans in the room, but it’s worth a try.
What I like about cold brewing coffee is that there’s often less stuff to carry around and you can end up with a good quality result without much work. The downside is that if you forget to brew it, you don’t have anything on hand to make something quickly.

