Overview
Living in Seattle, I’ve been pretty spoiled by having good coffee readily available.
Unless the hotel is providing a Nespresso machine, a Keurig machine or a French press, I haven’t been that impressed with the coffee available in the room. Coffee in the lobby is also hit and miss, though usually a bit better than what’s in room.
Since I typically choose hotels based on price, I can’t really rely on a chain or specific property to make coffee for me, so I’ve taken it upon myself to figure out how to make good coffee in the room without anything provided by the hotel.
(This is assuming that I don’t just want some caffeine, in which case time-release caffeine pills work better than immediate release pills and are typically sized to about a cup.)
Broadly speaking, there are a few things to worry about when making a cup:
- Where the ground coffee comes from and how fresh it is
- How we get hot water for extraction
- The coffee extraction
- Things to add to the coffee
Managing ground coffee
Using what the hotel provided for free
I’ve tried using the various free brands of coffee left for automatic drip coffee makers with a french press and an aeropress and unfortunately, it doesn’t actually improve the coffee very much. I think that this is the result of cost-cutting. I wouldn’t recommend this option unless you don’t really care how it tastes, in which case, you can just use the maker in the room.
Grinding on Demand
There’s a lot of folks who say that it’s best to travel with beans and grind the beans when you’re ready to make a cup of coffee. If you want a good coffee bloom (rapid release of carbon dioxide during extraction), then you’ll probably need to grind the beans immediately before making your cup.
To do that you’ll need a grinder that’s compact enough to grind, and ideally, is a burr grinder so that the grind is even. It’s not hard to find an inexpensive burr grinder for that purpose, such as the portable jar type or Japanese slim type.
While it’s the freshest way to go, I don’t like doing this because it’s another piece of equipment to carry around and I don’t particularly like having to grind coffee before each cup.
Pre-grinding Coffee
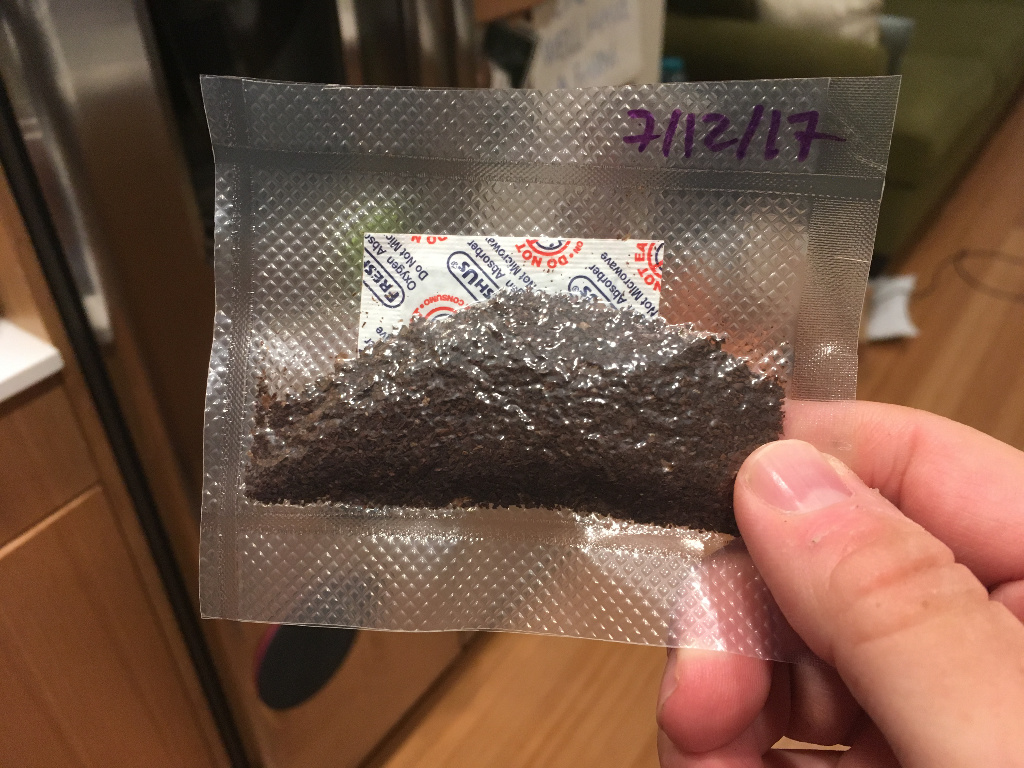
I didn’t do this for a long time because coffee oxidizes very quickly. Supposedly up to 60% of aromatics disappear within a minute of grinding, and the change in flavor is pretty apparent to me. As it turns out, you can solve this with vacuum sealing and oxygen absorbers. With no oxygen, there’s nothing to oxidize the sealed coffee.
Commercially processed coffee generally will use a technique called nitrogen flushing to offset the oxygen, but it isn’t easy to do that at home.
You can often find refurbished foodsavers to vacuum seal stuff on meh.com, but if you don’t have one, you can find other brands for around $30.
With a little bit of effort, you’ll end up with something like the image at the top of the post. Don’t forget to cut little notches in the side to make it easy to open.
Instant Coffee
If you don’t mind a instant coffee, the Starbucks VIA instant coffee isn’t bad. It’s a bit different than most instant coffee in that in addition to freeze drying liquid coffee, Starbucks also includes very finely ground coffee mixed in with the crystals.
I’ve found that if you can wait a few minutes after mixing the coffee, it gives it a richer taste that conventional instant coffee, but it’s still not great.
Japanese Pre-made pour-over
If you don’t mind the flavor of Japanese coffee (the flavors tend to be slightly different than American coffee), you can buy pre-made pour overs made by Key Coffee and UCC. These are both pretty well known in Japan and include a filter with the coffee.
Canned Coffee
While there’s no ground coffee to manage here, it’s an option. If you’ll have access to a fridge and don’t mind checking a bag, the Illy canned coffees are excellent quality. I don’t tend to do this because I don’t like checking bags.
Coffee Pods
I like Nespresso coffee pods because you can use them either for espresso or Americanos. The coffee is already packed with nitrogen for freshness and has a good shelf life. You can also get a lot of different blends fairly easily.
As of lately, I’ve been drinking the Illy Nespresso pods even more often. For about the same price, I think the quality is a little better.
Hot water for Extraction
I’ll usually use bottled water for this, but I’ve found that ice machines often use a water filter. Assuming that the ice machine is reasonably clean, you can use that as an alternative to bottled water in a pinch.
Immersion Heaters
Immersion heaters are attractive in that they are small and lightweight. The trade-off is that you need something that you can immerse them in that’s not going to melt or catch fire, and you have to be careful to always unplug them before removing them from a liquid. Immersion heaters also don’t turn off once they have brought the water to a boil, so you have to watch them as they boil.
If you don’t mind dealing with that, you can get a 300W one pretty inexpensively.
Mini-Kettles
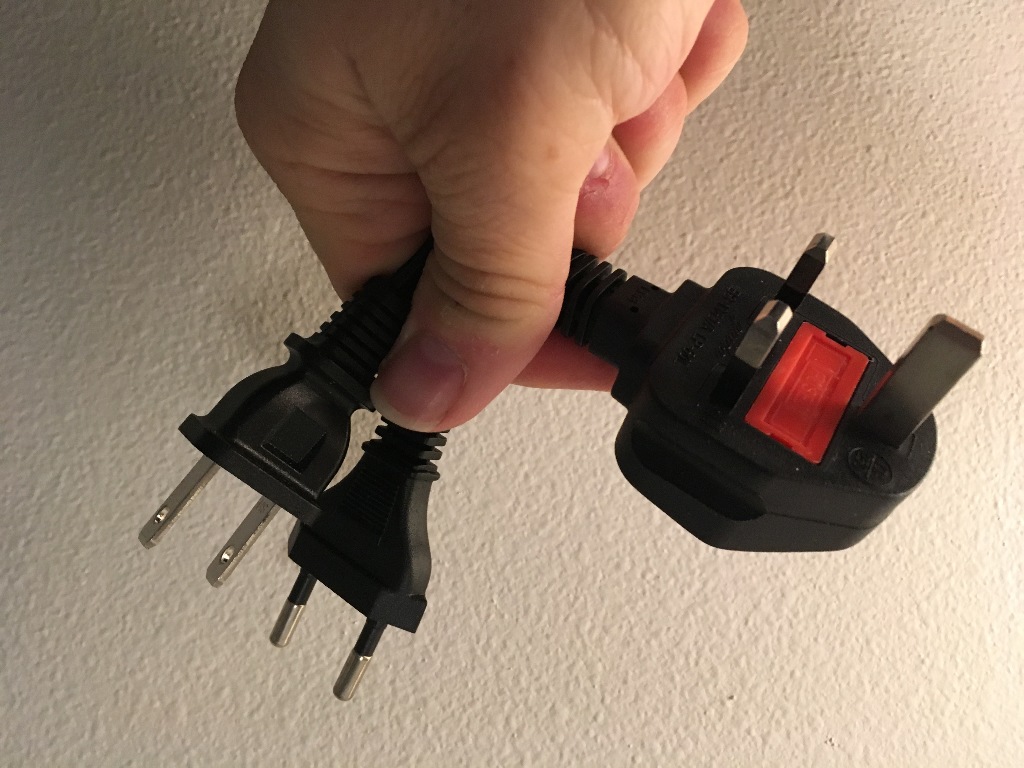
A mini-kettle is my preferred approach to heating up water, since you get a measuring cup with them and they generally turn off after the water has come to a boil. Bodum makes an inexpensive one that is light and compact. It only runs on 120V, but I’ve found that most places outside the US will provide kettles in the room.
Coffee Extraction
Aeropress
There are a lot of folks that swear by the Aeropress for travel. I don’t think it’s a great option because the rubber easily absorbs smells from a suitcase and it’s a bit messy to deal with the puck and cleaning it when you’re packing up. That’s not to say that you can’t get good results, but I didn’t like traveling with it.
French Press
A french press has similar performance to an Aeropress, though the extraction is a bit different without the pressure that you apply from the Aeropress. While glass is easier to clean than plastic and rubber, it also means that you’re dealing with glass. A french press will generally use tempered glass to make it resistent to thermal shock, but this also means that certain parts of the glass are weaker. This means that you need a good case to put around the press if you want to travel with one.
Pour-over
You can use something like a Melitta plastic pour-over, which is going to be pretty durable and easy enough to clean. The only downside to it is carrying around the filters and dealing with the shape of the pour-over. I don’t think there’s much of an advantage of using it over a disposable pour-over.
Disposable Pour-over
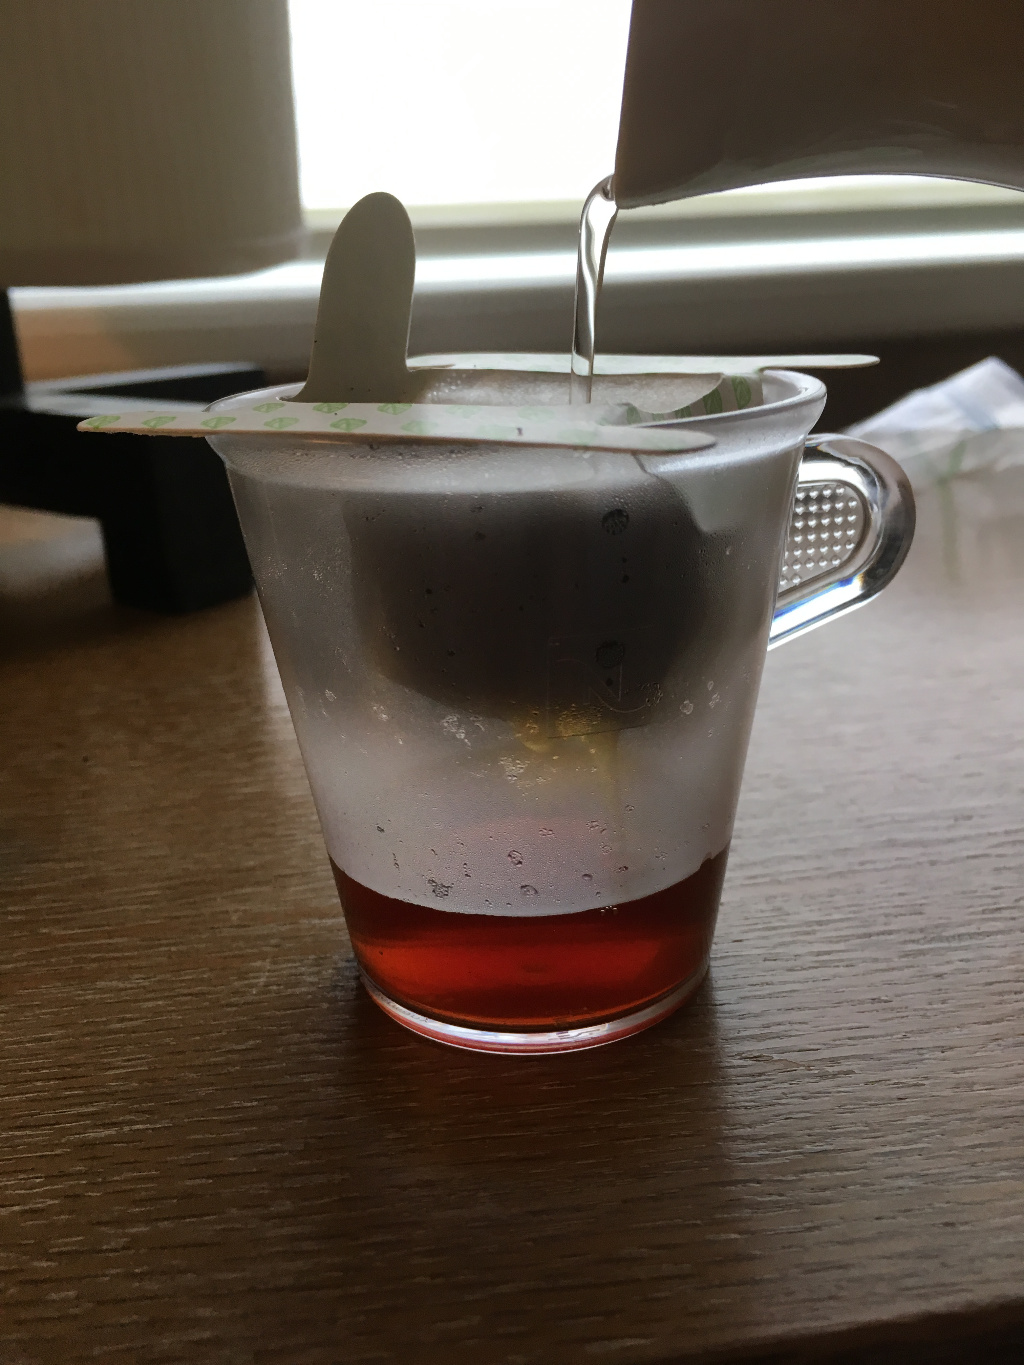
There are a number of Japanese disposable pour-over filters that you can get and I like to use these the most because clean-up is fast, they fold flat, and they’re about as lightweight as not bringing a coffee-making apparatus at all.
Nespresso Machine
I’ve tried different espresso machines at home, but I tend to end up going back to Nespresso because of consistency and ease of clean-up.
It’s not the most practical thing to carry in that it takes up about a fourth of my IATA carry-on bag, is at least somewhat heavy, only works on 120V power, generally receives an extra look after an X-Ray, but it does the job pretty well.
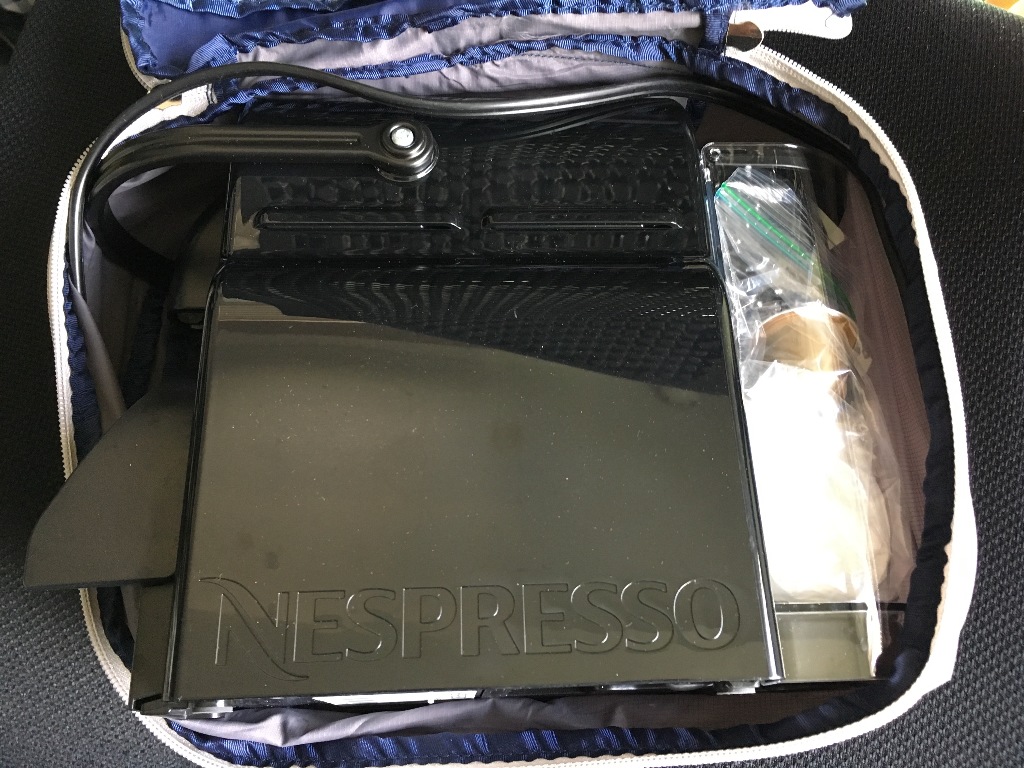
In a later post, I’ll talk about the Nanopresso, which does a decent enough job if you’re looking for a minimalist Nespresso setup.
Things to add to the coffee
If you like cream in your coffee do worse than a shelf-stable mini creamer. Something about non-dairy or powdered creamer never tastes right too me, and these are easy enough to bring along for the real thing.
Conclusion
After trying a bunch of different things, I typically carry around a small kettle, some vacuum packed coffee from home, some Japanese pour-over filters, and a small plastic cup for drinking the coffee.
If I’m in the mood for espresso and don’t mind the weight and other trade-offs, I’ll bring that with a few pods and an espresso glass.
